[NOTE: This post is from 2011. To read the updated post from 2012 click here]
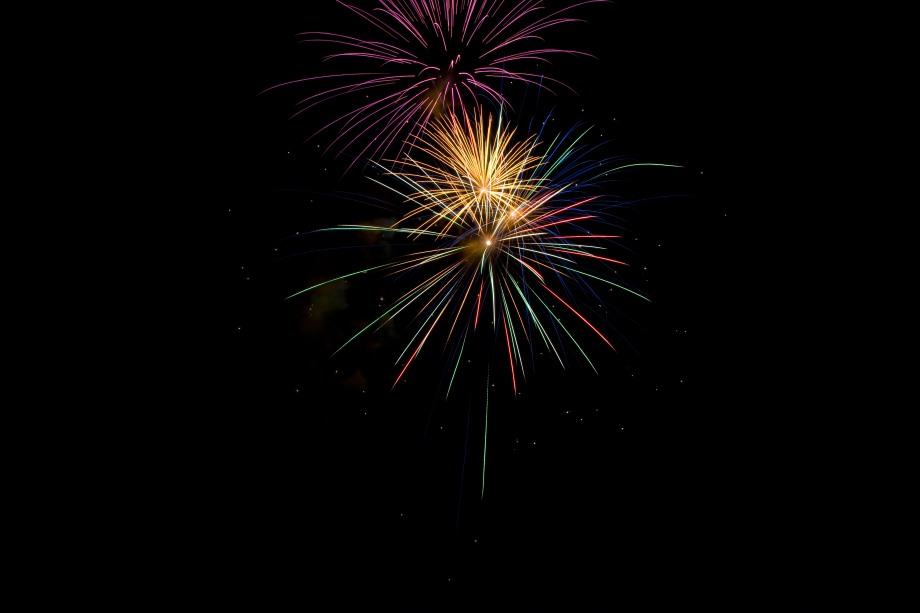
With the 4th of July just around the corner, I thought I’d share some tips on how to shoot fireworks.
This is the time to shoot in manual mode. Most people assume that because they’re shooting at night they’ll need a high ISO, flash and a wide aperture. The opposite is true; you’re not exposing for the night sky, you’re exposing for very bright sources of light.
To begin, set your ISO to 100. The last thing you want is digital noise in the dark sky.
Next, set your aperture to a narrow setting; something between f/8 and f/16 to get a wide depth of field.
Your shutter speed will vary but something around 3-to-4 seconds is a safe bet. Or you can use “bulb” mode where the shutter remains open for as long as you hold the shutter button down. You’ll have to play with the timing. Do you fire the shutter when the rocket fires? Or maybe when it’s half-way up the sky? Or maybe as it explodes and another rocket is coming up. Experiment and see what you get.
With such long exposures a tripod is necessary and if you have one, a shutter release cable is very helpful.
Your lens should go to infinity on its own, but if you find your lens is having trouble finding a focus area, switch it to manual focus and evaluate the image on your LCD by zooming in tight. Do not rely on the image on that 3-inch screen to tell you if it’s in focus. At roughly 3-inches square your image may look sharp until you open it up on your 15 or 27 inch monitor.
If your LCD blinks at you it means those areas are over exposed. Don’t freak out. Ask yourself if it’s too overexposed. Remember, fireworks are very bright so you’d expect to get some overexposure. There’s not much detail in there anyway (imagine shooting a light bulb). Just look at the areas that are blinking and ask yourself if it’s acceptable. Or check your histogram. If the peaks are crowding too far to the right side, you’re blowing out highlights. Increase your shutter speed to get them back.
Typically this is my set-up: f/11, ISO 100, 4 seconds. That’s what I’ll start with. The only thing I’ll vary is the shutter speed.
There will be some trial and error as you find your settings. But don’t get so caught up in your camera that you forget to enjoy the show. So try to have some fun!

